 You’ve registered the perfect domain name for your blog and your hosting is all set up. Now you’re ready to get your blog visible to the world.
Just follow the simple steps below to install WordPress on your own and you’ll be up and running in less than five minutes.
You’ll need to have these three things handy before you start:
- The “New Account Information” email sent to you by your hosting service
- Pen
- Paper
Are you ready? Let’s get started!
Step 1 – Log Into Your Control Panel (cPanel)
To find your Control Panel (cPanel), open up your favorite browser and type your website address into the address bar followed by /cpanel (ex. http://www.yourwebsiteaddress.com/cpanel)
Then use the log in information you received in your “New Account Information” email to log in. (Figure 1)

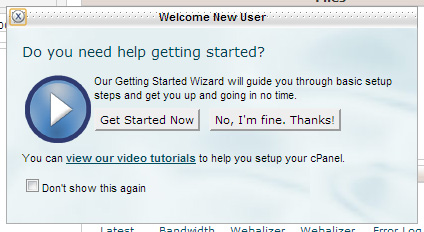
You’re immediately greeted with a welcome message that offers to walk you through cPanel with a “Getting Started” wizard (Figure 2). Feel free to take a few moments to go through the wizard if you want to familiarize yourself with cPanel. We’ll wait for you! When you’re ready, we’ll meet you at Step 2.
Step 2 – Software Installation Tool
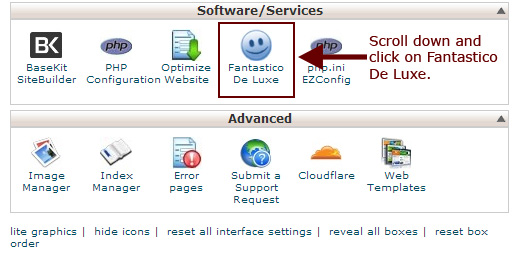
Scroll down the page until you find the “Software/Services” heading and click on Fantastico De Luxe (Figure 3).
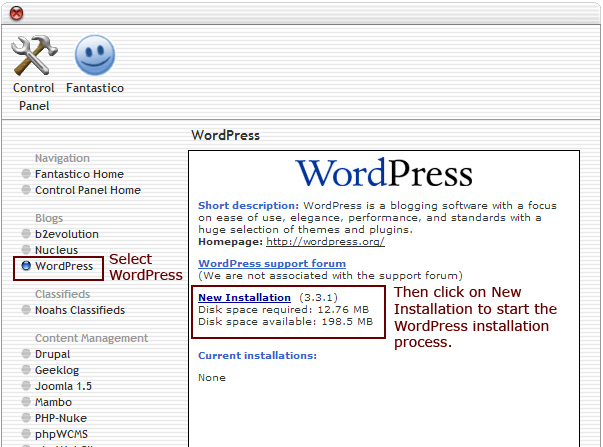
From here you’ll be able to install everything from WordPress to an eCommerce cart. Since we’re going to focus on a blog this week, click on WordPress and select New Installation (Figure 4) and I’ll meet you at Step 3!
Step 3 – Let the Installation Begin!
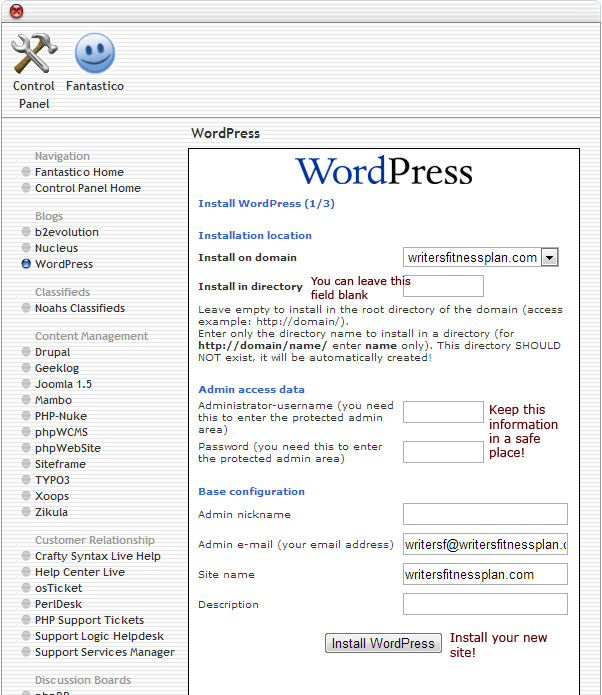
On this step, you’ll have to create the Login information you’ll use to access your new blog. We recommend two important things here:
- Don’t use the words “Admin” or “Administrator” in your user ID. Doing so can make your new site easier to hack.
- Keep this login information in a safe place! You’ll need it to manage your site.
You also have the option of creating a nickname for your admin account, changing the email address and adding a description of your site. This can all be done once your site is up and running, too, so if you want to skip this step now, you can.
Once you’re ready, click Install WordPress to finish up the installation (Figure 5).
Step 4 – Finish Your Installation
WordPress has built and installed everything it’s going to need to run. Now you just have to click Finish Installation and you’re set (Figure 6).

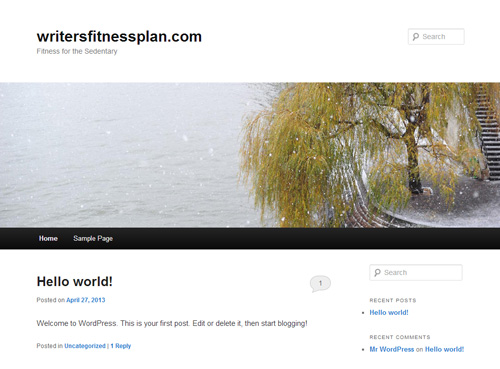
Step 5 – Start Blogging!
Congratulations! You’re new blog is up and running and you can start blogging right away or customize your blog with themes, pictures, etc. (Figure 7)
Feel free to let us know when your new blog is up! We’d love to read you.
And if you need any help at all through this process, don’t hesitate to contact us at help@computergeeks2go. We’ll be happy to help you get started.
The Practical Social Media University says:
Wow what a great tips! Very informative!
Web says:
I think you covered so much can’t imagine how long this took you. Agree with Vera anytime someone asks me too I will forward this post. Thanks for putting so much time and being so detailed!